Recreating a Vintage Photograph
June 30th 2018 By Randy Jones and Kimberly
Sometimes an old portrait will grab the attention; the subject’s look or garments will seize the imagination and cause the viewer to reflect. Perhaps the photograph is the portrait of a distant family member, or perhaps the portrait is of a complete stranger; either way, the mind is enchanted with the possibilities...what was it like to live back then? To dress in that manner? To be photographed back in those remote days?
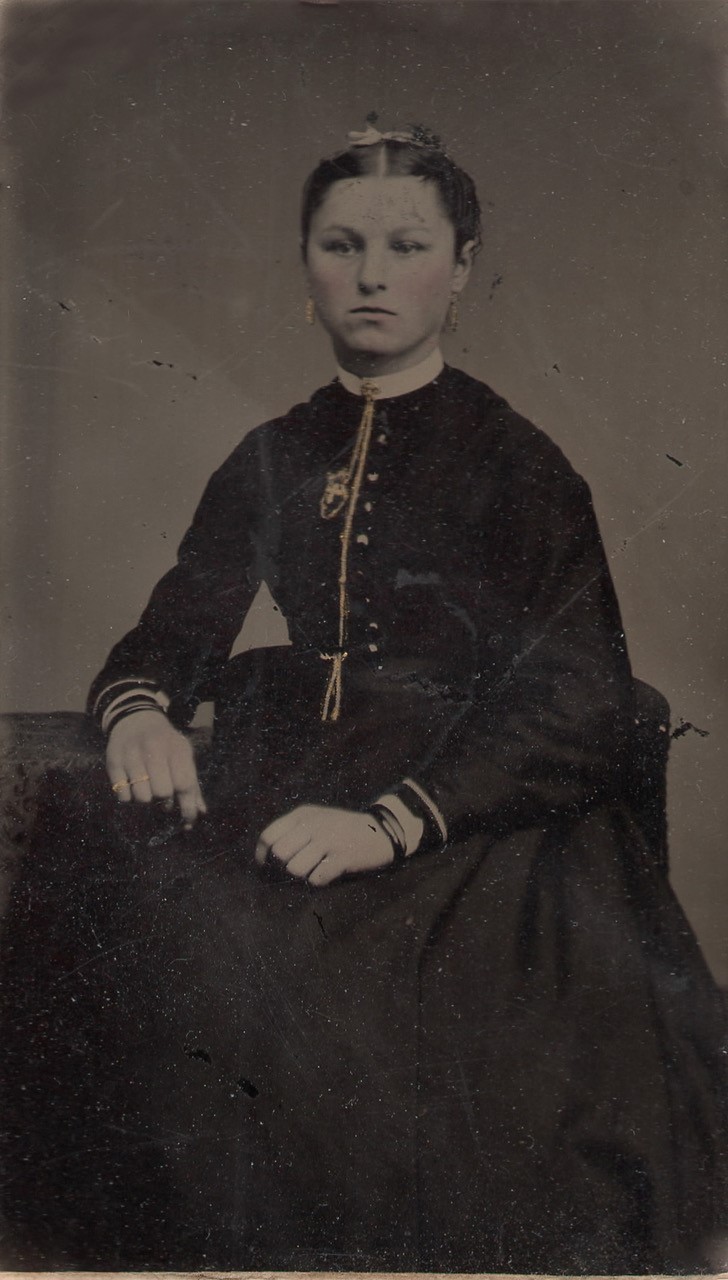
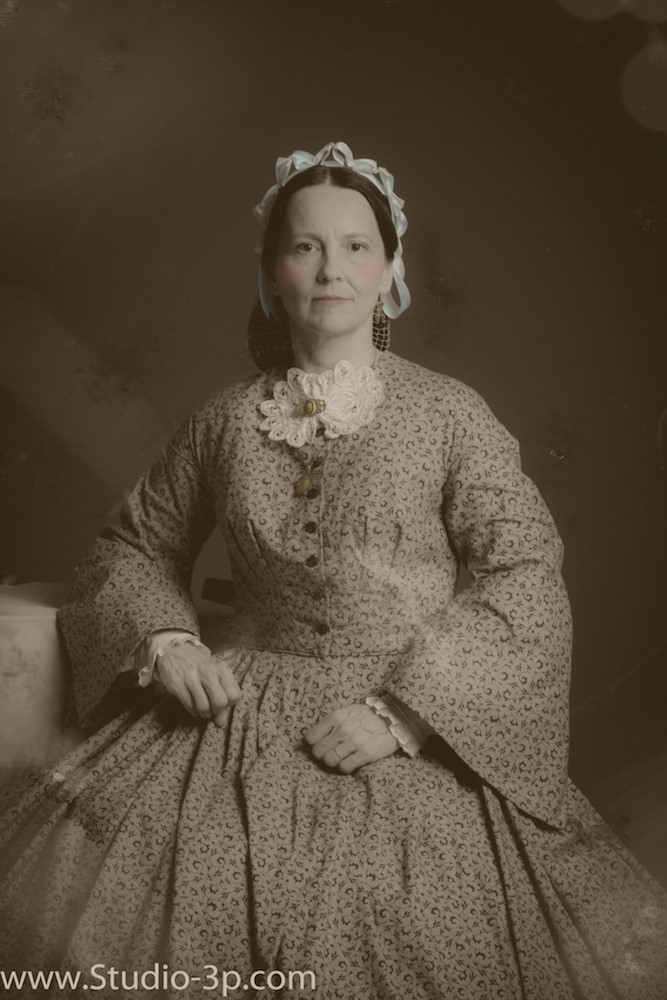
Because of our reputation for creative expertise, we at Studio 3P will sometimes get a request to recreate an old photograph of a parent, grandparent, great-grandparent, or a relative even farther back than that. In some cases, a person will be inspired by an old photograph that they want to be a part of.
The Inspiration
For this project, an 1860’s era black and white photograph was our inspiration, our beginning point. Our creative challenge was to recreate it using modern tools; to capture the wardrobe, the set, the lighting, the entire look and feel of the portrait was our goal.
The Wardrobe
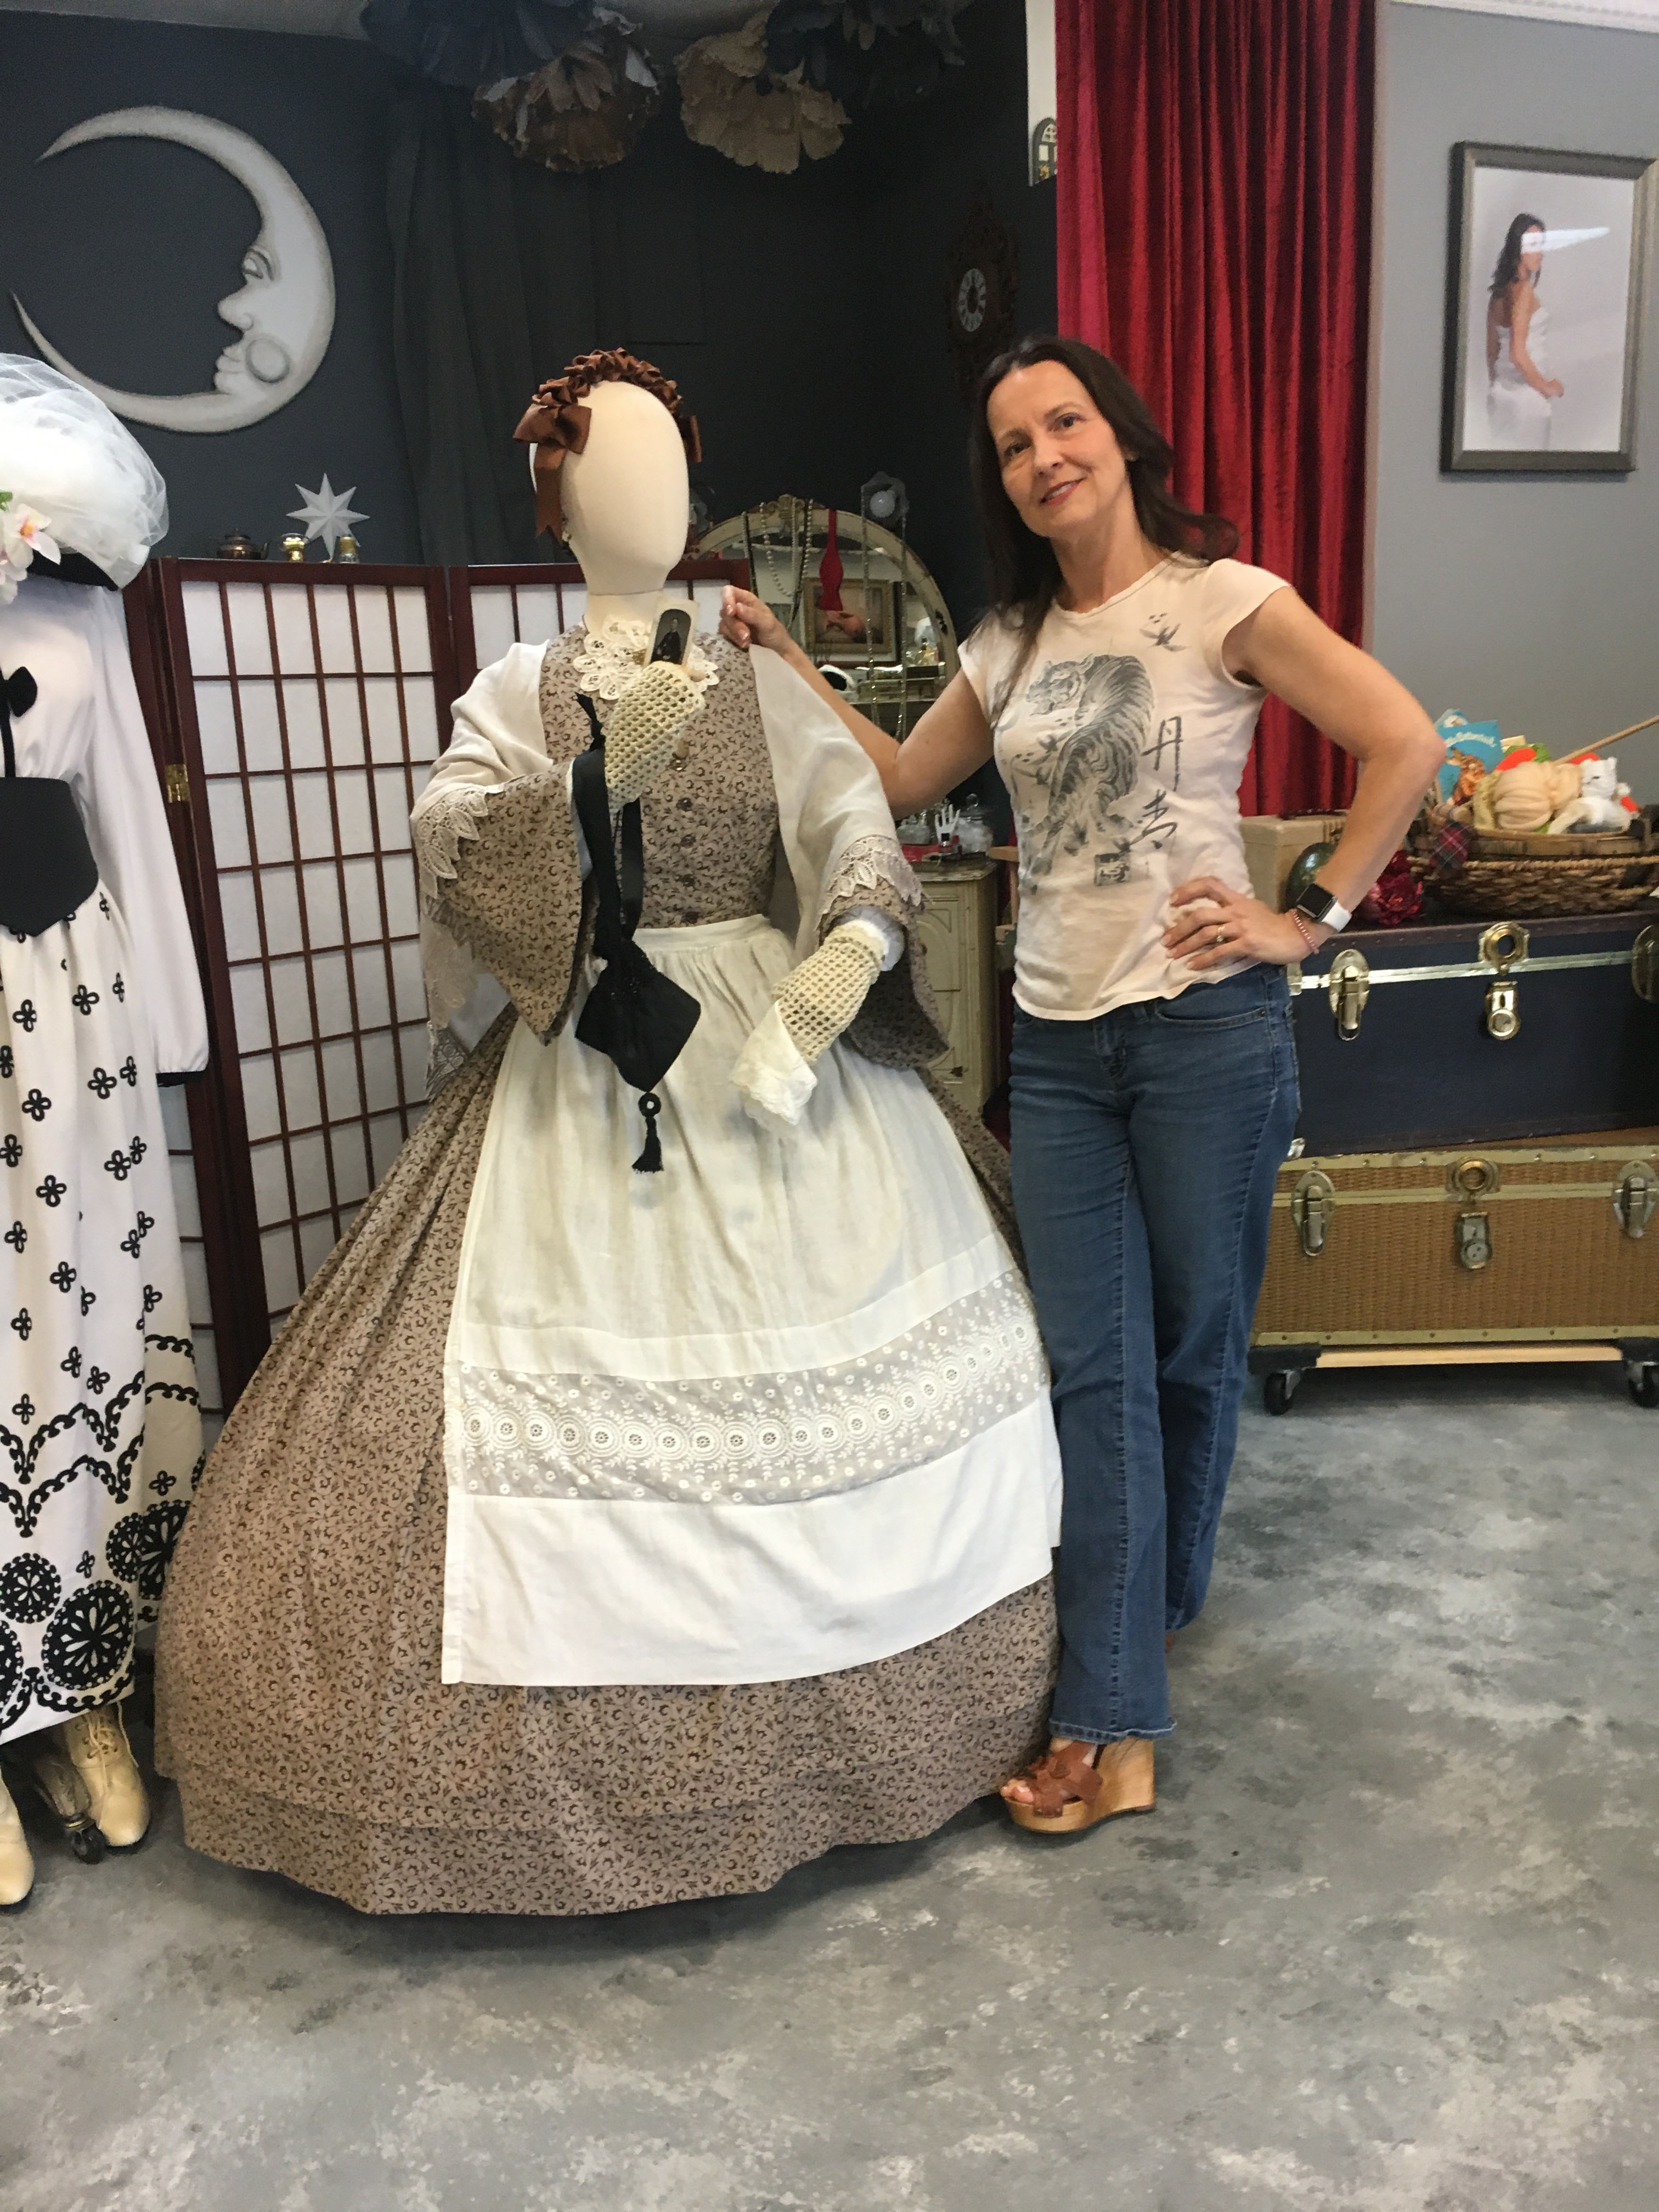
Our studio stylist located a suitable dress in the period style. She obtained a tan cotton day-dress with brown vine details. The dress features dropped shoulder seams and the pagoda sleeves popular in the era. White undersleeves are worn with the large cape-like sleeves. A generous five-hoop under skirt and pantalets are also worn. A flourish of Battenberg lace is worn at the neck, secured by a vintage brass broach with small black cameo. Also, a brass locket on a tiered chain adorns the bosom. In the original photo, not much of the model’s hair is seen, so our stylist researched period hairstyles and, using historical photos as reference, created a headband of gathered satin ribbon and pearls atop a ivory snood.
The Model
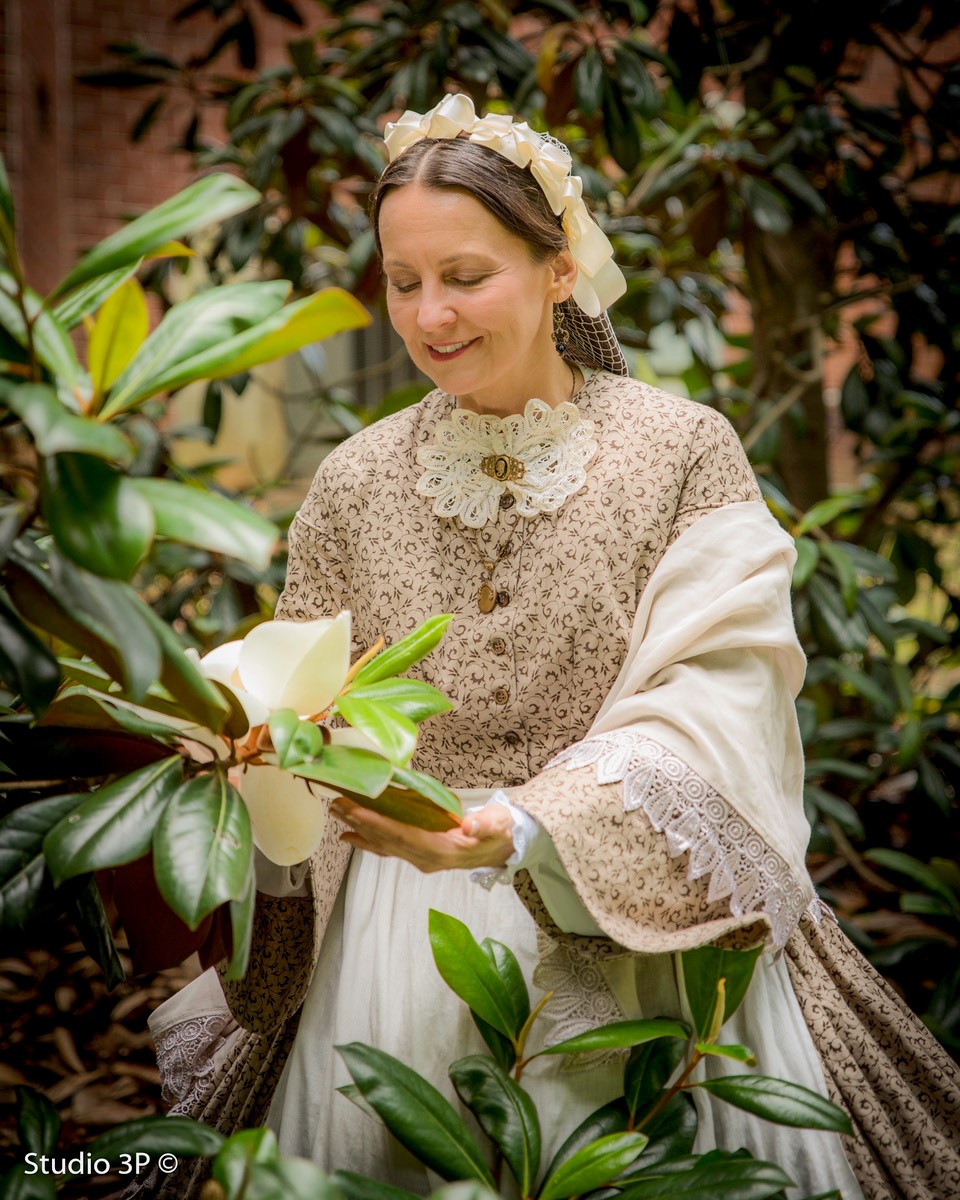
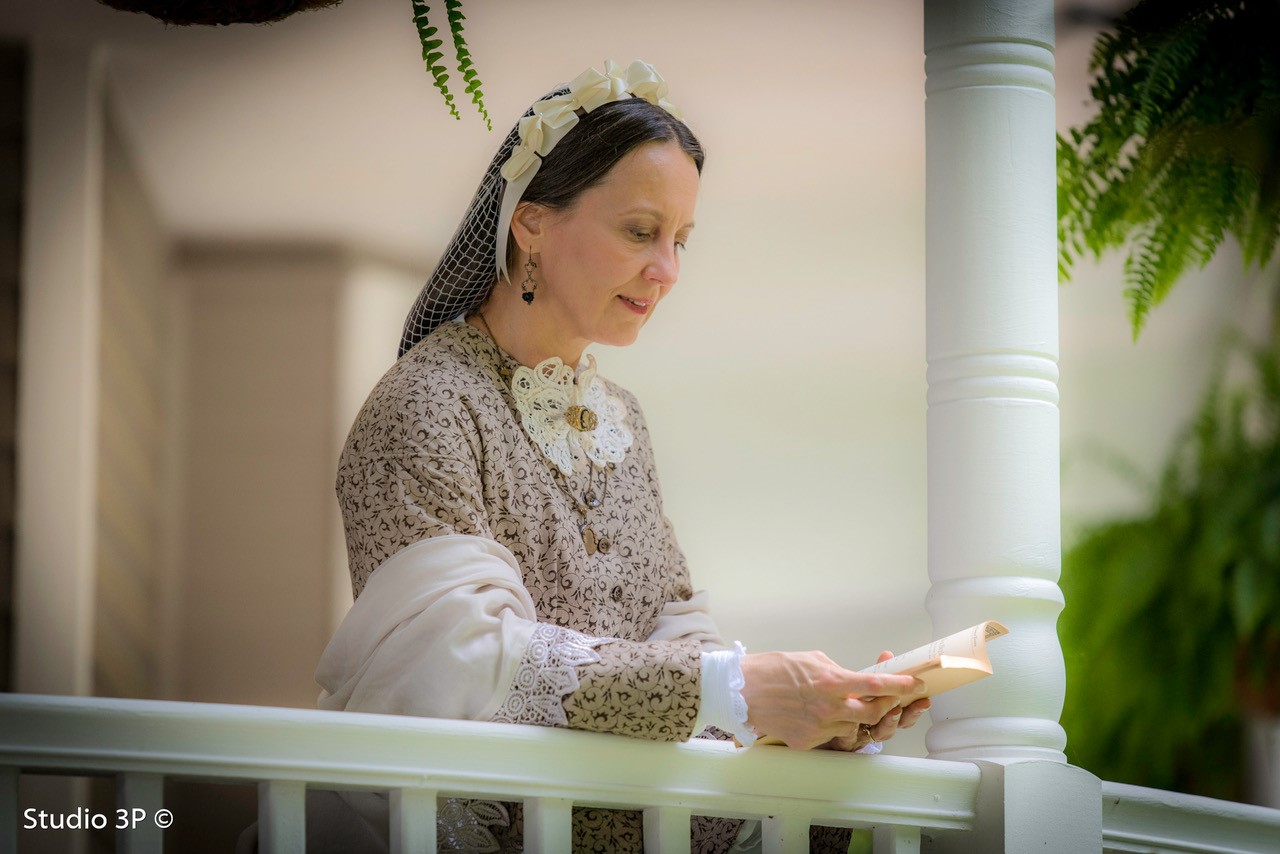
Our model arranged her hair in a center part, teased the length and gathered it into the snood, and topped it with the hand-made headdress. She posed herself in the set as closely to the pose used in the vintage portrait, unsmiling stare and all. (Don’t worry, you can see her smile in a few photographs we took among the magnolias at the end of this article!) Hand placement, arm angle and head tilt were all matched to the original.
The Lighting
A large part of the ambiance in a photograph is the lighting. When attempting to emulate another photograph, it is important to study the direction the light came from as it illuminated the subject. In the 19th century, there was only one source, the sun, which required everything to be photographed outdoors. And the subjects had to remain very still for many seconds.
From the late 1800s until around 1930, flashpowder was an option for indoor photographers. Flash bulbs did not come into popular use until the early 20th century.
Once the direction and number of lighting sources is determined by analyzing the lighting pattern of shadows vs light as it hits the subject in the subject portrait, then light(s) can be placed properly for a cre-creation. Usually, in historical photographs there is only one light, but if there was sunlight coming in window(s) and the flash from the other side, two lights may be required. Many more options for lighting are available to the modern photographer, (especially in a well-equipped studio such as Studio 3P!)
The original seems to have been created with one light, with some dodging and burning (light room techniques of darkening and lightening) during the actual printing to create a vignette around the subject, etc., and finished by adding a little hand painted color to the cheeks and jewelry. Due to the age of the original, we know that the sun was the source of the light (since flash powder had not yet been introduced). Also, a reflector was possibly used. However, since the goal is to recreate the original using modern tools, our analysis is complete.
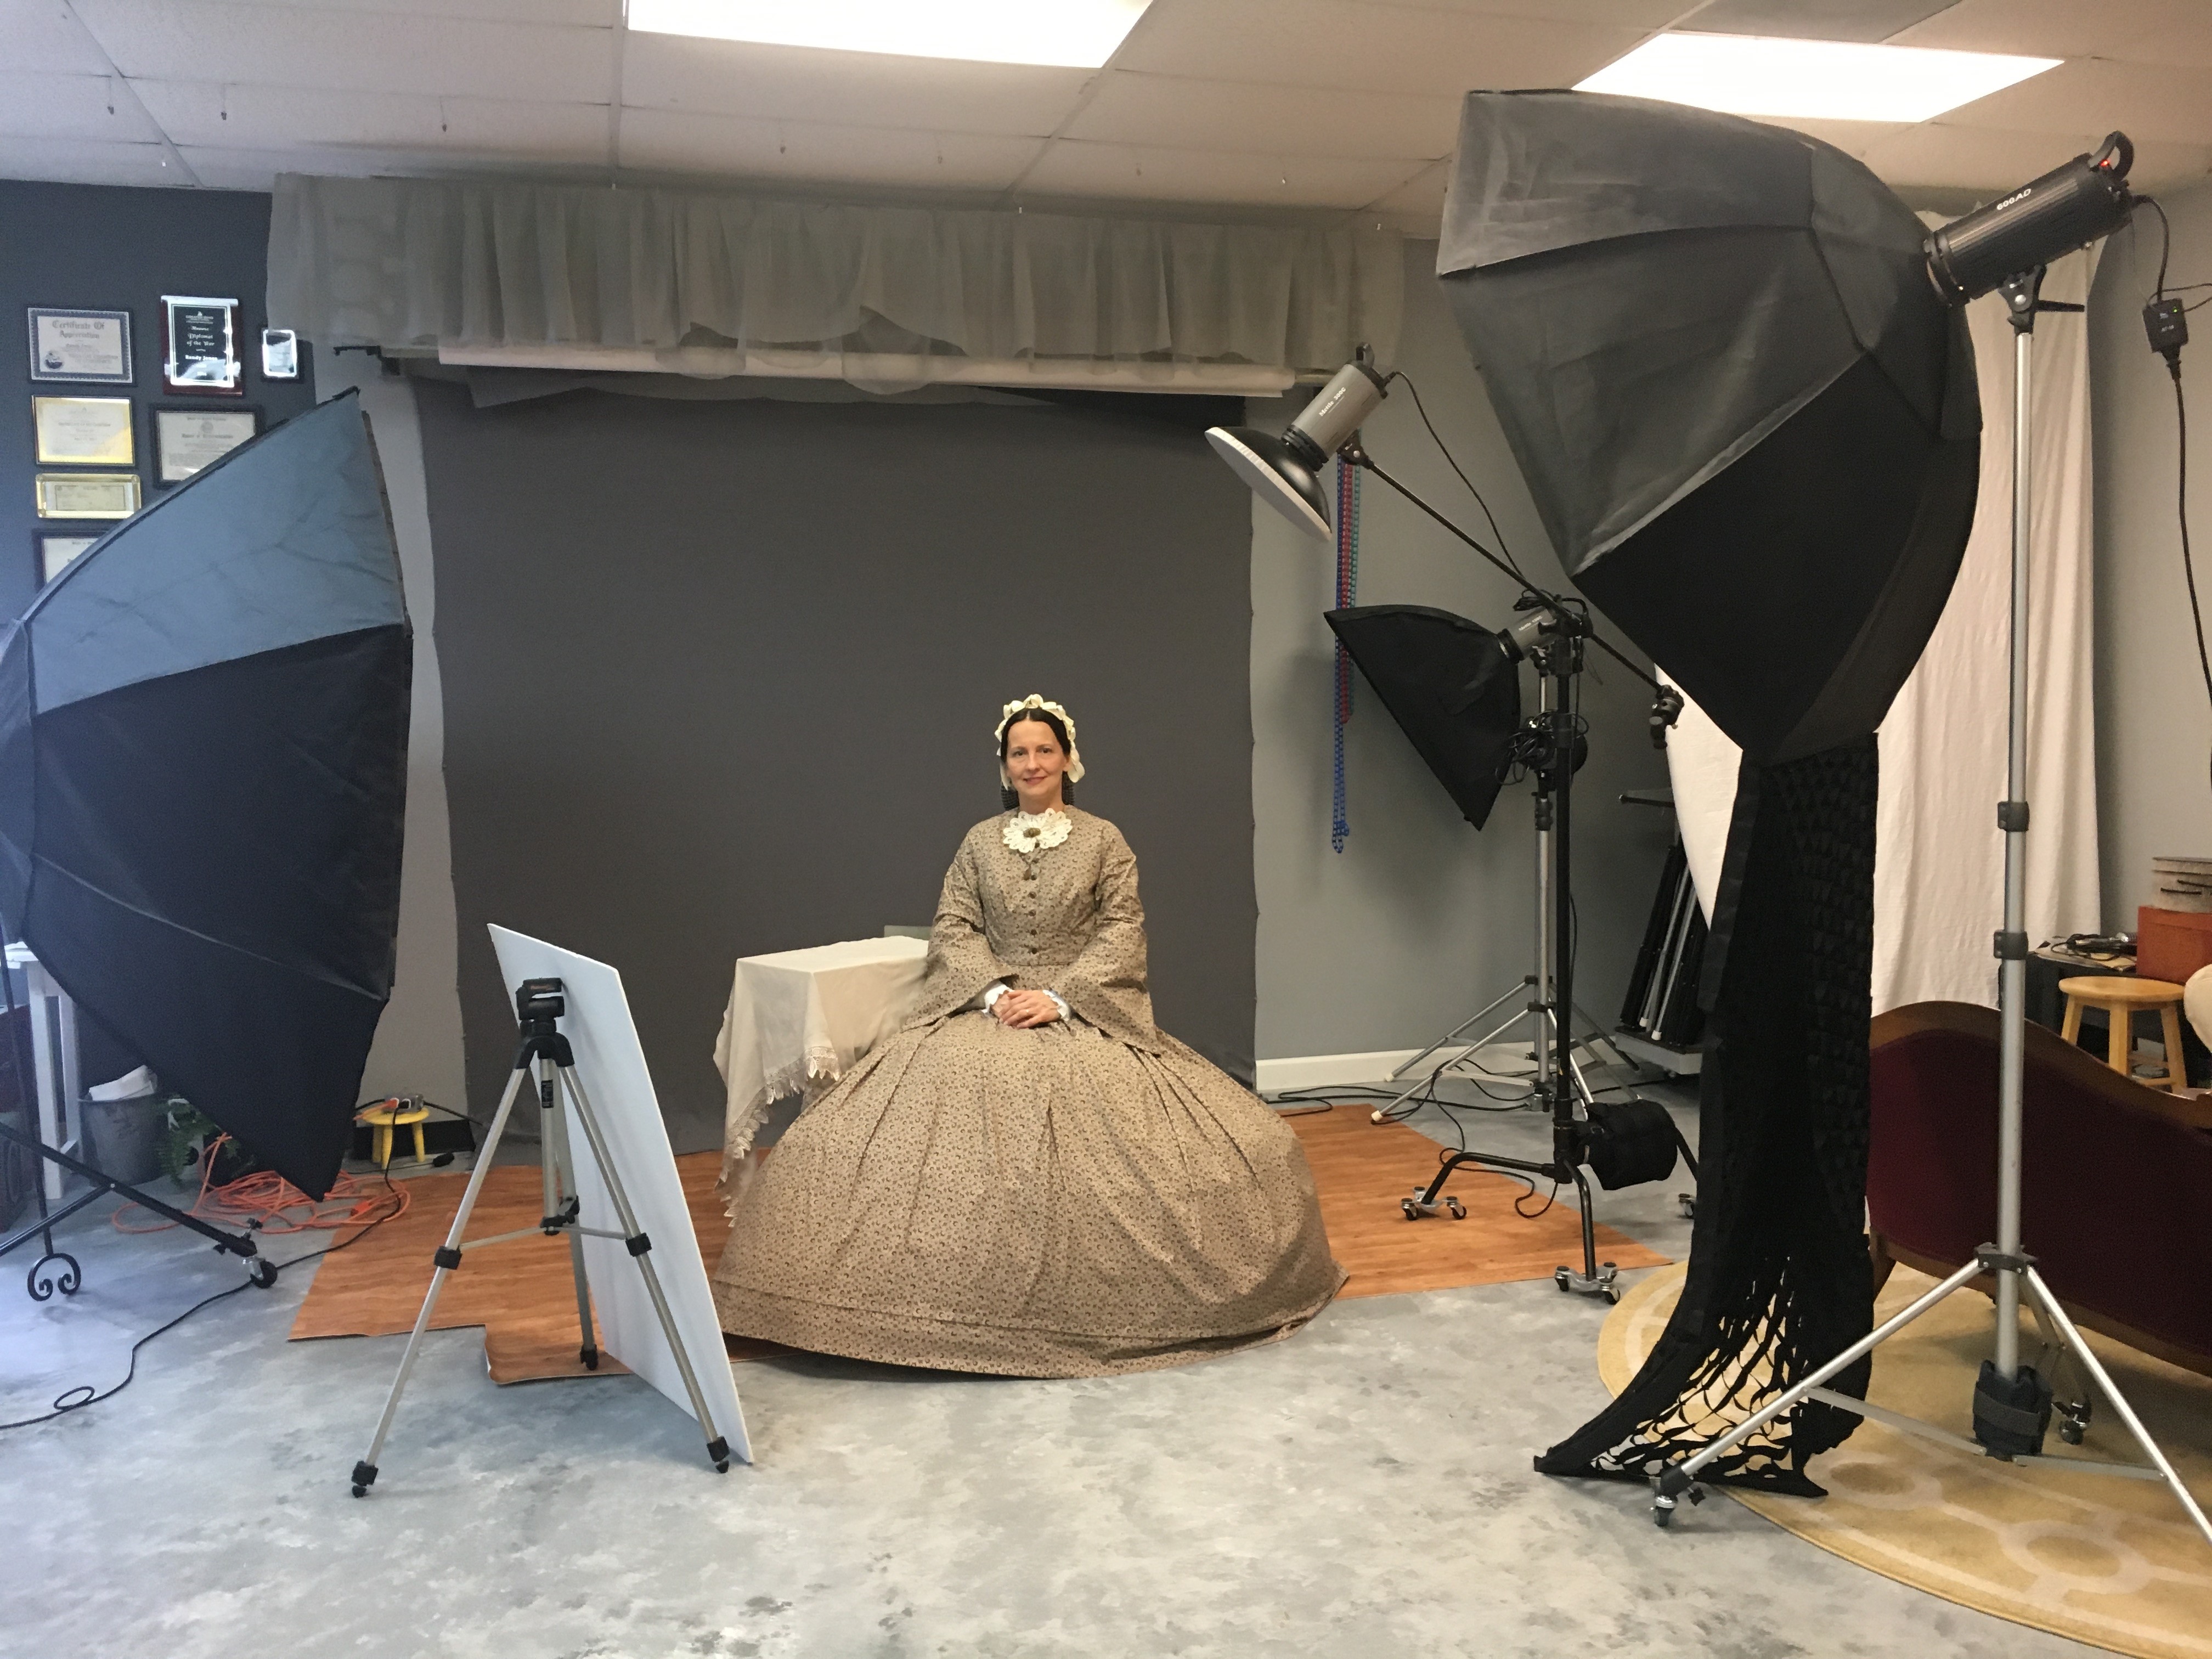
For this particular photograph, the photographer used a single light positioned above and to the right of the model, specifically an octagon light modifier with a single baffle to soften the light and help eliminate the sharpness and super-clear focus of newer lenses and cameras vs the older and less sophisticated systems. We also used a small backlight to emulate the vignette seen in the original photograph.
The Set
The set was handled by a single chair and a small table in front of a medium gray muslin background. We did not make use of the back brace probably endured by the original model to help her stay still during the extended exposure time, of course.
The Camera
The camera used by the photographer who created the original portrait was likely a huge 8x10 view camera that used glass plates rather than film. For this project, our photographer used a Nikon D810, (one of Nikon's top digital cameras) with a fast professional grade lens.
Post-Processing in Lightroom
After the photograph was taken, enhancing the “old” look moved to post production in Lightroom, a sophisticated editing program. This is where our modern image was rendered in black and white, which was how the original vintage portrait was created. Today's cameras and lenses are far superior to what was used in the sample, so we had to take out detail, add grain, blow highlights, deepen shadows.
The Final Steps in Photoshop
Next, the image was transferred into Photoshop by our in-house retoucher. Using the original vintage photograph as a guide, several adjustment layers were created, each to bring about a specific type of change to the studio image. First, a layer was made to contain the noise (grain and other damages to the print). Noise was added to simulate the lower quality paper used in printing during the 1800’s. A lens blur was added to reduce the tack-sharp focus captured by the modern photographer. Then simulated fly-specks and other wear caused by the passage of time were added. The desirable bright octagonal catch-lights in the model’s eyes created by the modern lighting were carefully de-emphasized to give the eyes a more period-appropriate look. Also, a layer was added to bring the overall image a warmer sepia-like tone to enhance the greyscale of the photograph.
Last, a layer was added to contain the pastel colorization to simulate the look of the hand tinting done by an artist on the vintage photo. As in the vintage print, color is carefully added to delicately enhance the cheeks and lips with pink, and the jewelry with a yellow color. The modern retoucher also took the artistic liberty of adding some pale blue to the hair bows. The final file was flattened and saved as a JPEG.
Final Comparison
In a side-by-side comparison, the portraits are pleasingly similar. The color and detail of the dresses varies, as does the flourish at the neck. The jewelry and hair vary from the sample, but are in the proper spirit of the era. We deem the exercise a success and worth the creative effort!
Portrait Creativity on Display
At Studio 3P, we have the creative and technical capability to take on projects like this. If you are considering a portrait session and desire something extra special, trust the artists at Studio 3P to bring your dream session to reality. Consider Studio 3P your local destination for custom and creative photography for maternity photography, children’s portraits, family sessions and special occasions and celebrations.
